FALLING SEQUINS CARD
Step by step guide to create a falling sequins effect in a DIY card

Don’t you love a cute and fun card with lots of sequins? This DIY project is for you. Sequins can be hard to work with because of their size, but once you see the final result, all your effort is going to be so worth it.
The fun part of using sequins is all the shapes, colors, and effects you can make with them to boost your creativity and crafting game. This time we will share with you the falling sequins technique by one of our favorite collaborators, Meenal Dhariwal.
Try this modified interactive shaker rainbow card idea with the falling sequins technique is very easy to do and affordable. You don’t need to have professional skills. You only need patience and lots of sequins to play around with.
Follow the tutorial made by Meenal Dhariwal. She explains it step by step with full clarity. This is an amazing idea to try for a birthday or an anniversary and wow your friend or your significant other.
Materials
To be able to do this card you need the following material:
- Rainbow hearts sequins by HAI Supply
- Black stars sequins by HAI Supply
- Card panel 4.25 x 5.5 inches
- Rainbow colors of cardstock
- Two pieces of craft foam
- Craft book adhesive transfer sheets
- A print paper
- Double-sided tape
- A heart shape die
- Die-cutting machine
- An acetate sheet
- Liquid glue
- Scissors
- Marker or stamp.
Steps to make a rainbow card with falling sequins
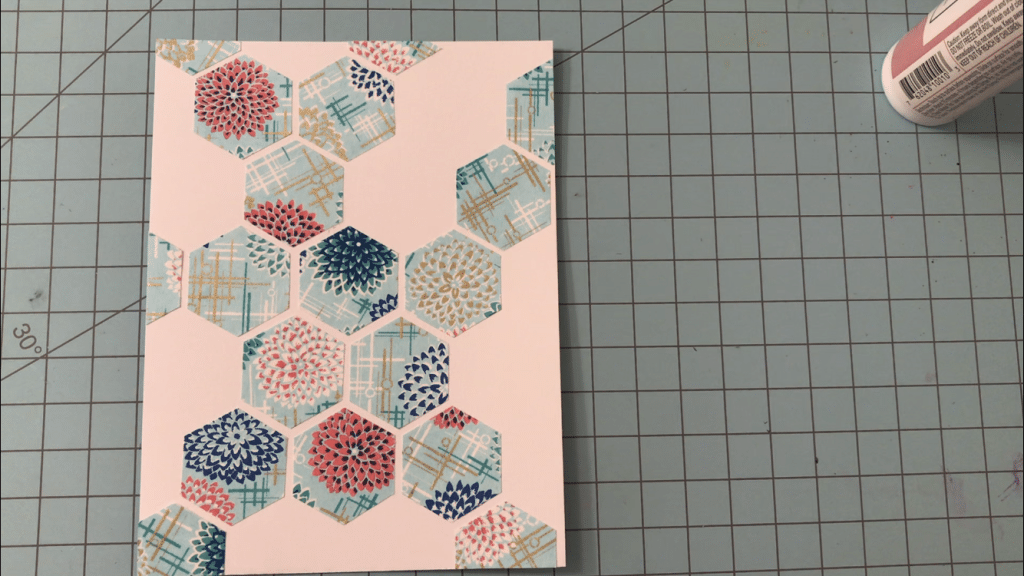
- Cut your rainbow cardstock in small but long stripes. Use double-sided tape to paste them on a piece of print paper. Place one color after the other to make it seem like a rainbow. This element will go right in the middle of your card panel.
- Place the rainbow piece on the top center of the card panel. With a medium size heart shape die, trace it right in the middle of it. You will want to make a little window in the center of the panel.
- Glue the rainbow piece to the card panel. Cut the remaining part that is hanging off the edge. Place again the heart die, you can secure it with little pieces of tape and send it to the die cutting machine. But don’t throw away the cut piece, you will need it later.
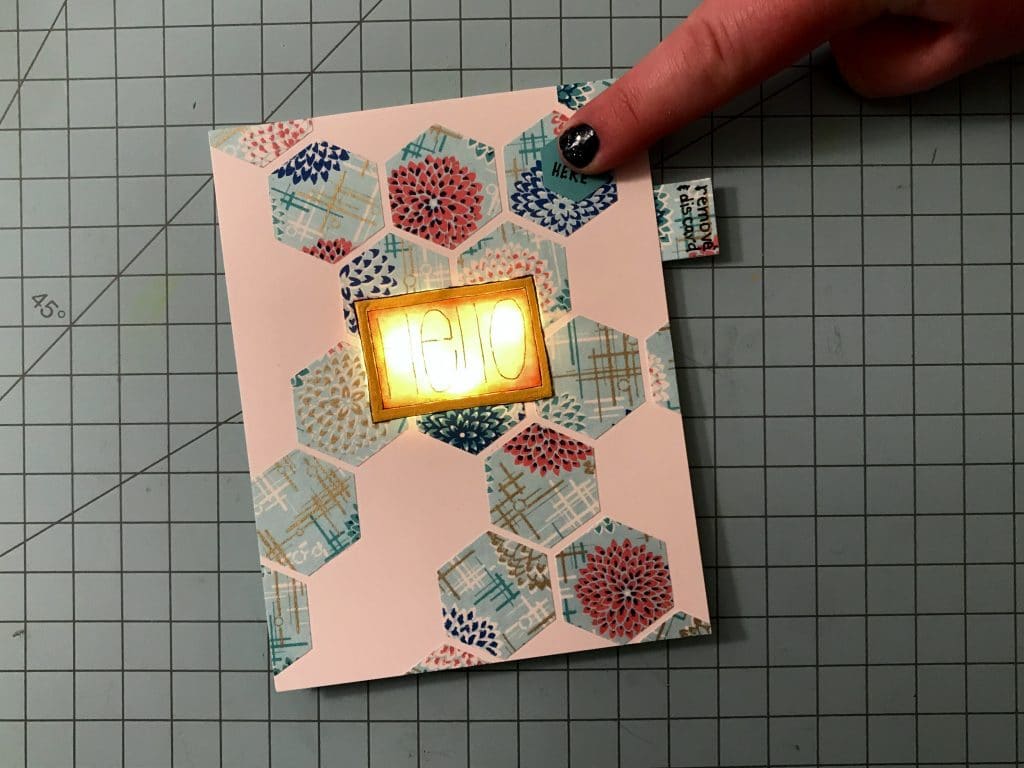
- The next step is to write a cute phrase. It will depend on the occasion, but this time we will go with “You color my world”. Meenal is using a stamp, but if you don’t have one, you can do basing lettering with a marker. It will look pretty too.
- Now is time to do the fun part. Place little dots of liquid glue on the card front so you can adhere to the black stars sequins. Make sure to place them randomly for a better look.
- Take the two pieces of craft foam, make sure that they are slightly smaller than the card panel. You can use three of them so the sequins can fall easily. You can adhere the pieces together with the craft book adhesive transfer sheets.
- Make sure to burnish the adhesive sheet very well on the craft foam. You can use a bone folder. Now you can remove the liner paper and stick the other craft foam piece to it. Take your time to do this step. No pressure.
- Place the front panel on the craft foam. Pop in the heart shape piece back in its original position. Remember, the one little cut piece we saved from step 3. Remove the front panel and place the heart die on the die-cut piece and mark the outline with a pencil. By doing this you will know the exact position of the window of the front panel on the craft foam.
- It’s time to work on the hidden veil for the sequins. Use a circle die. Place it right on top of the heart die but keep a small space between them. Secure it with tape and send it to the die-cutting machine.
Tip: Make a little sign or line to remember which side is up, so you know which side will go attacked to the front card panel. - Grab the acetate sheet that is slightly smaller than the card panel. Use liquid glue on the edges to adhere to it behind the front panel.
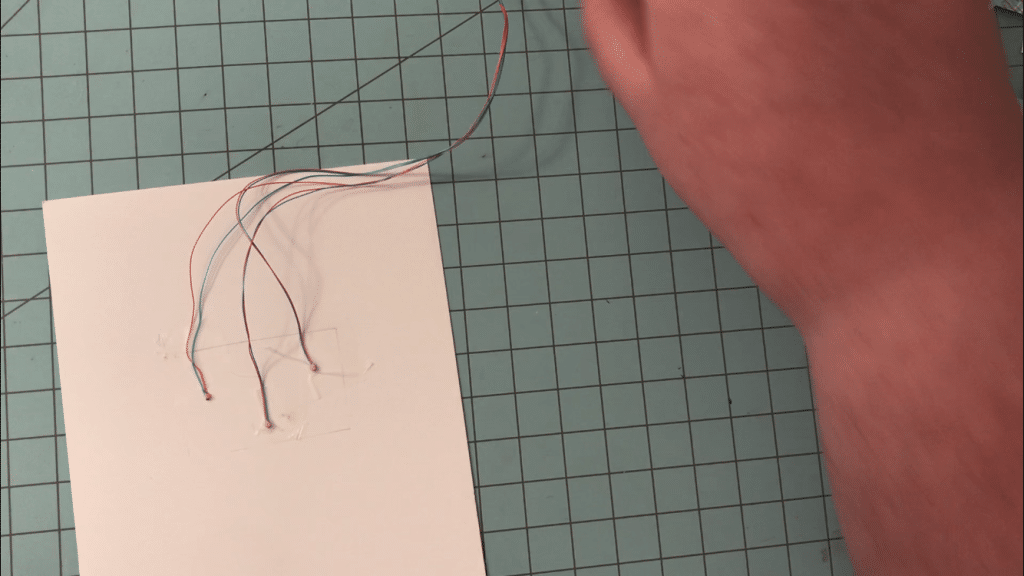
- Let’s do the skinny pull tab that will bring the falling sequins technique alive. Grab a piece of heavy-weight cardstock. Cut it in three little pieces of four inches long each. Adhere them all together with liquid glue.
- To make the stopper for the pull tab draw a line on the left of the craft foam and draw the track for the pull tab between the circle and heart die-cut shapes. The track width is wide enough for the pull tab to fit in properly. With a pair of scissors cut the lines for the track.
- To connect both of the windows draw a guideline and cut those pieces. Now you will see how the circle and heart shapes are one. Use liquid glue on all the edges to stick it to the back of the front panel. Make sure the heart windows are perfectly aligned with each other.
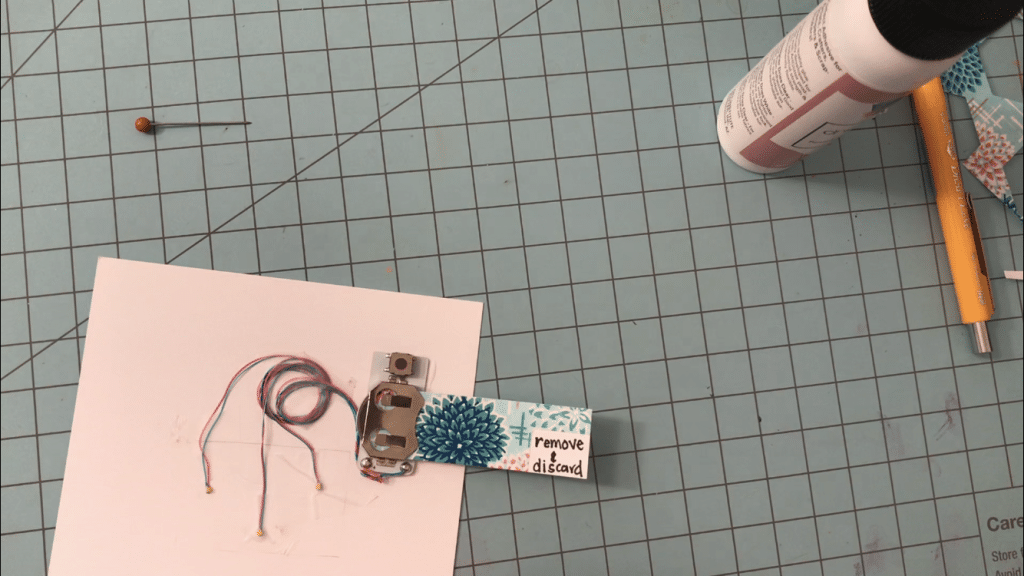
- Time to use the rainbow heart sequins! Before pouring them into your card, make sure you have placed the pull tab correctly between the circle and the heart die cut. Now, pour the rainbow heart sequins in the circle window. Use how many as you want.
- We are almost done. Now that everything is in place, you have to seal it. Take another card panel of 4.25 x 5.5 inches and glue it very well to the back of your front panel. This will keep your sequins from falling out of place.

You are done! Now you can turn it around and play around with it. Pull that tab out and watch the sequins falling like rain from the rainbow you made in the center. Doesn’t it look very pretty and magical?
These beautiful sequins can be found at our online stores or check our store locator any of the 50 stores located in the USA and Canada. We have more shapes and colors that can bring your DIY projects alive. We love when you show your works on Instagram, tag us if you use one of our embellishments.
Watch Meenal’s YouTube video here: https://youtu.be/NHpcb4G5RJU
[embedyt] https://www.youtube.com/watch?v=NHpcb4G5RJU[/embedyt]
Guía paso a paso para crear efecto de caída con lentejuelas para tarjetas DIY
¿No te encantan las tarjetas bonitas y creativas con muchas lentejuelas? Este proyecto de hazlo tú mismo es perfecto para ti. Hay ocasiones que trabajar con lentejuelas no es nada fácil debido a su tamaño, pero una vez que veas el resultado, todo tu esfuerzo habrá valido la pena.
La parte divertida de usar lentejuelas es todos los colores, formas y efectos que puedes crear para darle un empujón a tu creatividad y a tu habilidad de manualidades. En esta ocasión vamos a compartir contigo la técnica de efecto de caída con lentejuelas por parte de una de nuestras colaboradoras favoritas, Meenal Dhariwal.
Intenta hacer esta tarjeta de arcoíris interactiva con la técnica de caída de lentejuelas. Es muy fácil de hacer y económica. No necesitas tener habilidades profesionales. Solo necesitas paciencia y muchas lentejuelas para jugar.
Sigue el tutorial de Meenal Dharwila. Ella te explica paso a paso con total claridad. Esta tarjeta es una buena idea para sorprender a un amigo o pareja en su cumpleaños o aniversario.
Materiales
Para poder hacer esta tarjeta necesitas el siguiente material:
– Lentejuelas de corazón arcoíris
– Lentejuelas de estrellas negras
– 2 piezas de opalina blanca de 4,25 x 5,5 pulgadas
– Opalina en colores arcoíris
– Dos piezas de foami
– Hojas transparentes de transferencia adhesivas
– Una hoja de papel
– Cinta doble cara
– Troquel de corazón y círculo
– Maquina troqueladora
– Una hoja de acetato
– Pegamento líquido
– Tijeras
– Rotulador o sello
Pasos para hacer una tarjeta arcoíris con efecto caída de lentejuelas
- Corta las opalinas de colores en tiras iguales. Con la cita doble cara pégalas en una hoja de papel. Coloca cada color a lado del otro para formar un arcoíris. Esta pieza va a ir justo en medio de la pieza de opalina blanca.
- Coloca el arcoíris que formaste en la parte superior central de la opalina blanca. Pon el troquel en forma de corazón de tamaño mediano justo en medio y dibuja el contorno. De esta manera vas a hacer una pequeña ventana.
- Pega tu pieza de arcoíris a la opalina blanca. Corta la parte que sobresale de ella. Vuelve a colocar el troquel de corazón y asegúralo con un pedazo de cinta. Está lista para ser enviada a la máquina troqueladora. Pero no vayas a tirar la pieza que cortaste, la vas a ocupar más tarde.
- El siguiente paso es escribir la frase que más te guste en frente de la tarjeta. Va a depender de la ocasión, pero para este proyecto vamos a poner la frase “Tú coloreas mi mundo”. Meenal utilizó un sello, pero si no cuentas con algo similar, puedes utilizar un marcador y hacer un poco de lettering.
- Ahora es momento de hacer la parte divertida. Coloca pequeños puntos al azar en el frente de tu tarjeta con pegamento líquido. Abre tu paquete de lentejuelas de estrellas negras y coloca una por una en los puntos que hiciste.
- Toma dos piezas de foami. Asegúrante que sean un poco más pequeñas que tu tarjeta. Para asegurar que peguen bien puedes utilizar una hoja transparente de transferencia adhesiva.
- Asegúrate de presionar bien la hoja adhesiva sobre el foami. Ahora sí puedes retirar el papel de revestimiento y coloar la otra pieza de foami. Tomáte tu tiempo para hacer este paso. No te presiones.
- Coloca la opalina blanca sobre el foami y pon la pieza en forma de corazón de vuelta en su posición original. ¿Recuerdas la pequeña pieza cortada que guardamos del paso 3? Retira la opalina blanca, vuelve a colar el troquel de corazón sobre la pieza de corazón cortado y marca el contorno con un lápiz. Cuando hagas esto sabrás la posición exacta de la ventana de la opalina blanca en el foami. Mándalo a la máquina troqueladora.
- Es hora de trabajar en el velo oculto de las lentejuelas. Agarra el troquel de círculo y ponlo justo encima del corazón que ya cortaste en el foami, pero deja un pequeño espacio entre ellos. Asegúralo con un pedazo de cinta y vuélvelo a enviar a la traqueladora.Tip: Haz una pequeña línea o trazo para identificar cuál es el frente y sepas cuál lado es el que vas a pegar a la opalina blanca.
- Agarra la hoja de acetato, procura que sea más pequeña que la opalina blanca. Con el pegamento líquido adhiérela detrás de la opalina.
- Hagamos una lengüeta delgada que dará vida a la técnica de caída de lentejuelas. Coge un trozo de opalina gruesa, córtalo en tres pequeñas tiras de cuatro pulgadas de largo cada una. Pégalos juntos con el pegamento.
- Para crear el tope para la lengüeta dibuja una línea a la izquierda del foami y un trazo entre las formas de círculo y corazón. El ancho de la línea tiene que ser lo suficiente para que la lengüeta quepa correctamente. Con unas tijeras corta las líneas que trazaste.
- Para conectar ambas ventanas, dibuja dos líneas y cortalas. Ahora verás como el círculo y el corazón son una sola figura. Utiliza pegamento líquido en todos los bordes del foami y pégalo a la parte trasera de tu tarjeta. Asegúrate que las ventanas de corazón estén alineadas a la perfección entre sí.
¡Es tiempo de usar las lentejuelas de corazón de arcoíris! Antes de verterlos en tu tarjeta, coloca la lengüeta en su lugar entre la ventana de círculo y corazón. Vierte todas las lentejuelas que gustes en el círculo.
Ya casi terminamos. Todo está en su lugar, es momento de sellarlo. Toma el otro pedazo de opalina blanca de 4.25 x 5.5 pulgadas y pégalo muy bien a la parte posterior de la tarjeta. Esto evitará que las lentejuelas se salgan de su lugar.
¡Está lista! Ahora puedes darle la vuelta y jugar con ella. Jala la lengüeta de su lugar y observa cómo las lentejuelas caen como lluvia del arcoíris que hiciste en el centro. Se ve muy bonito y mágico, ¿verdad?
Estas hermosas lentejuelas las puedes encontrar en nuestras tiendas en línea o en cualquiera de las 50 sucursales ubicadas en EE. UU. y Canadá. Tenemos más formas que le pueden dar vida a tus proyectos de bricolaje. Nos encanta cuando nos muestras tus trabajos en Instagram, etiquétanos si usas alguno de nuestros adornos.
Watch: Meenal’s YouTube video here: https://youtu.be/NHpcb4G5RJU
[embedyt] https://www.youtube.com/watch?v=NHpcb4G5RJU[/embedyt]